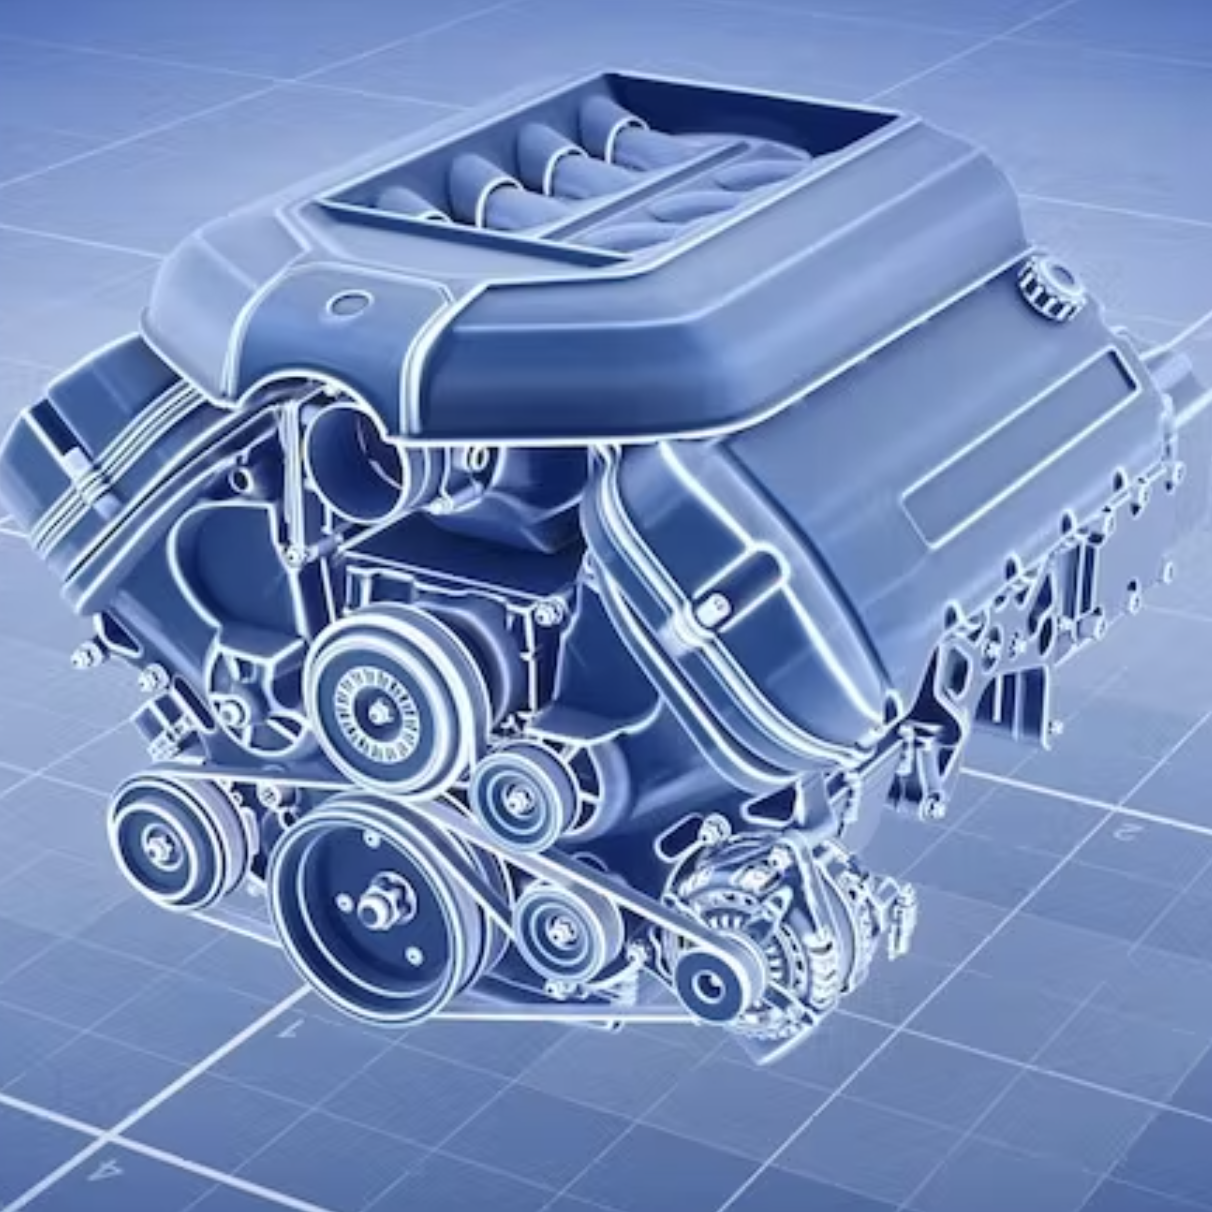
WHY YOU NEED TO CHANGE YOUR OIL
Neglecting routine oil changes increases the risk of harm to engine components. For this reason, motor oil should be changed regularly:
- Motor oil cushions moving parts. The oil thickness is reduced by extreme temperatures that can occur even during normal use.
- Motor oil also becomes acidic over time due to oxidation and, as a result, can be less effective at fighting corrosion.
- Oil filters capture unwanted and harmful debris and by-products of the combustion process.
- Changing an oil filter at every oil change will help ensure that your engine is circulating clean oil.
- Check the owner’s manual for manufacturer recommendations on oil grades and oil change intervals.
TYPES OF OIL
Motor oils consist of base oil + various additive compounds, each with a unique benefit for the engine. The additive compounds become depleted as the oil ages. The base oil can be conventional or synthetic. Conventional is typically refined petroleum. Synthetic is oil that has been refined even more than conventional oil. The additive packages provide friction modification, enhanced wear protection, detergency and other benefits.
SYNTHETIC
Provides super lubrications, withstands extreme heat, and extends oil change intervals.
SYNTHETIC BLEND
Cleaner than conventional oil, resists high heat, cheaper than full synthetic.
HIGH MILEAGE
Contains additives that condition seals to help stop minor oil leaks.
CONVENTIONAL
Provides good lubrications, cleaning additives, and less expensive than synthetic oil.
HOW TO CHANGE YOUR OIL
- Park your car on a level surface and apply parking brake.
PRO TIP: Run your engine for 5 minutes before draining oil, as warm oil drains faster than cold. Do NOT drain oil that is at full operating temperature. It will be way too hot!
- Locate the oil drain plug and place the drain pan below. Then, loosen the plug with a socket wrench. Make sure that the drain pan is large enough to hold 4 to 5 quarts of oil or more. The oil drains at an angle, so position your pan to catch it. Some vehicles may be required to be jacked up and have jack stands placed under the vehicle.
- Unscrew the plug by hand and drain all oil. To speed up the draining process, remove the filter cap located on the top of the engine and allow air to enter from the top.
- Replace oil plug. Tighten the oil plug by hand so that it is not cross-threaded. Once the plug is tight, finish tightening with a wrench or by hand.
- Remove existing oil filter. Some oil filters require a special tool to remove. Place the oil pan underneath the old filter to catch any remaining oil while unscrewing it, using an oil filter wrench. Use a rag to clean the mounting surface. Make sure that the sealing O-ring from the old filter is not stuck to the mounting surface on the engine.
- Lightly coat the rubber seal of the new filter with fresh oil. Lubricate new filter and screw into place by hand. It’s usually not necessary to tighten the oil filter with the wrench.
- Clean the oil filter neck and pour in the new oil using a funnel. Typically, you will use 4 to 5 quarts of oil, but check your manual for your vehicle’s oil capacity. Then replace the cap.
- Run the engine for a few minutes to make sure there are no leaks. Check the area around the oil drain plug and the filter for any leaks. If you notice a leak, shut the engine off immediately and correct it or them. Check the dipstick afterward and add more oil if necessary.
- Dispose of the used oil properly.


